Do you have precious holiday ornaments you’ve been collecting for years? Or did you re-vamp your decor and now have a totally new holiday look? Taking photos that include all your decorations is so fun and makes a great addition to your scrapbooks and lasting memories! Here are a few simple tips to really make those photos special!
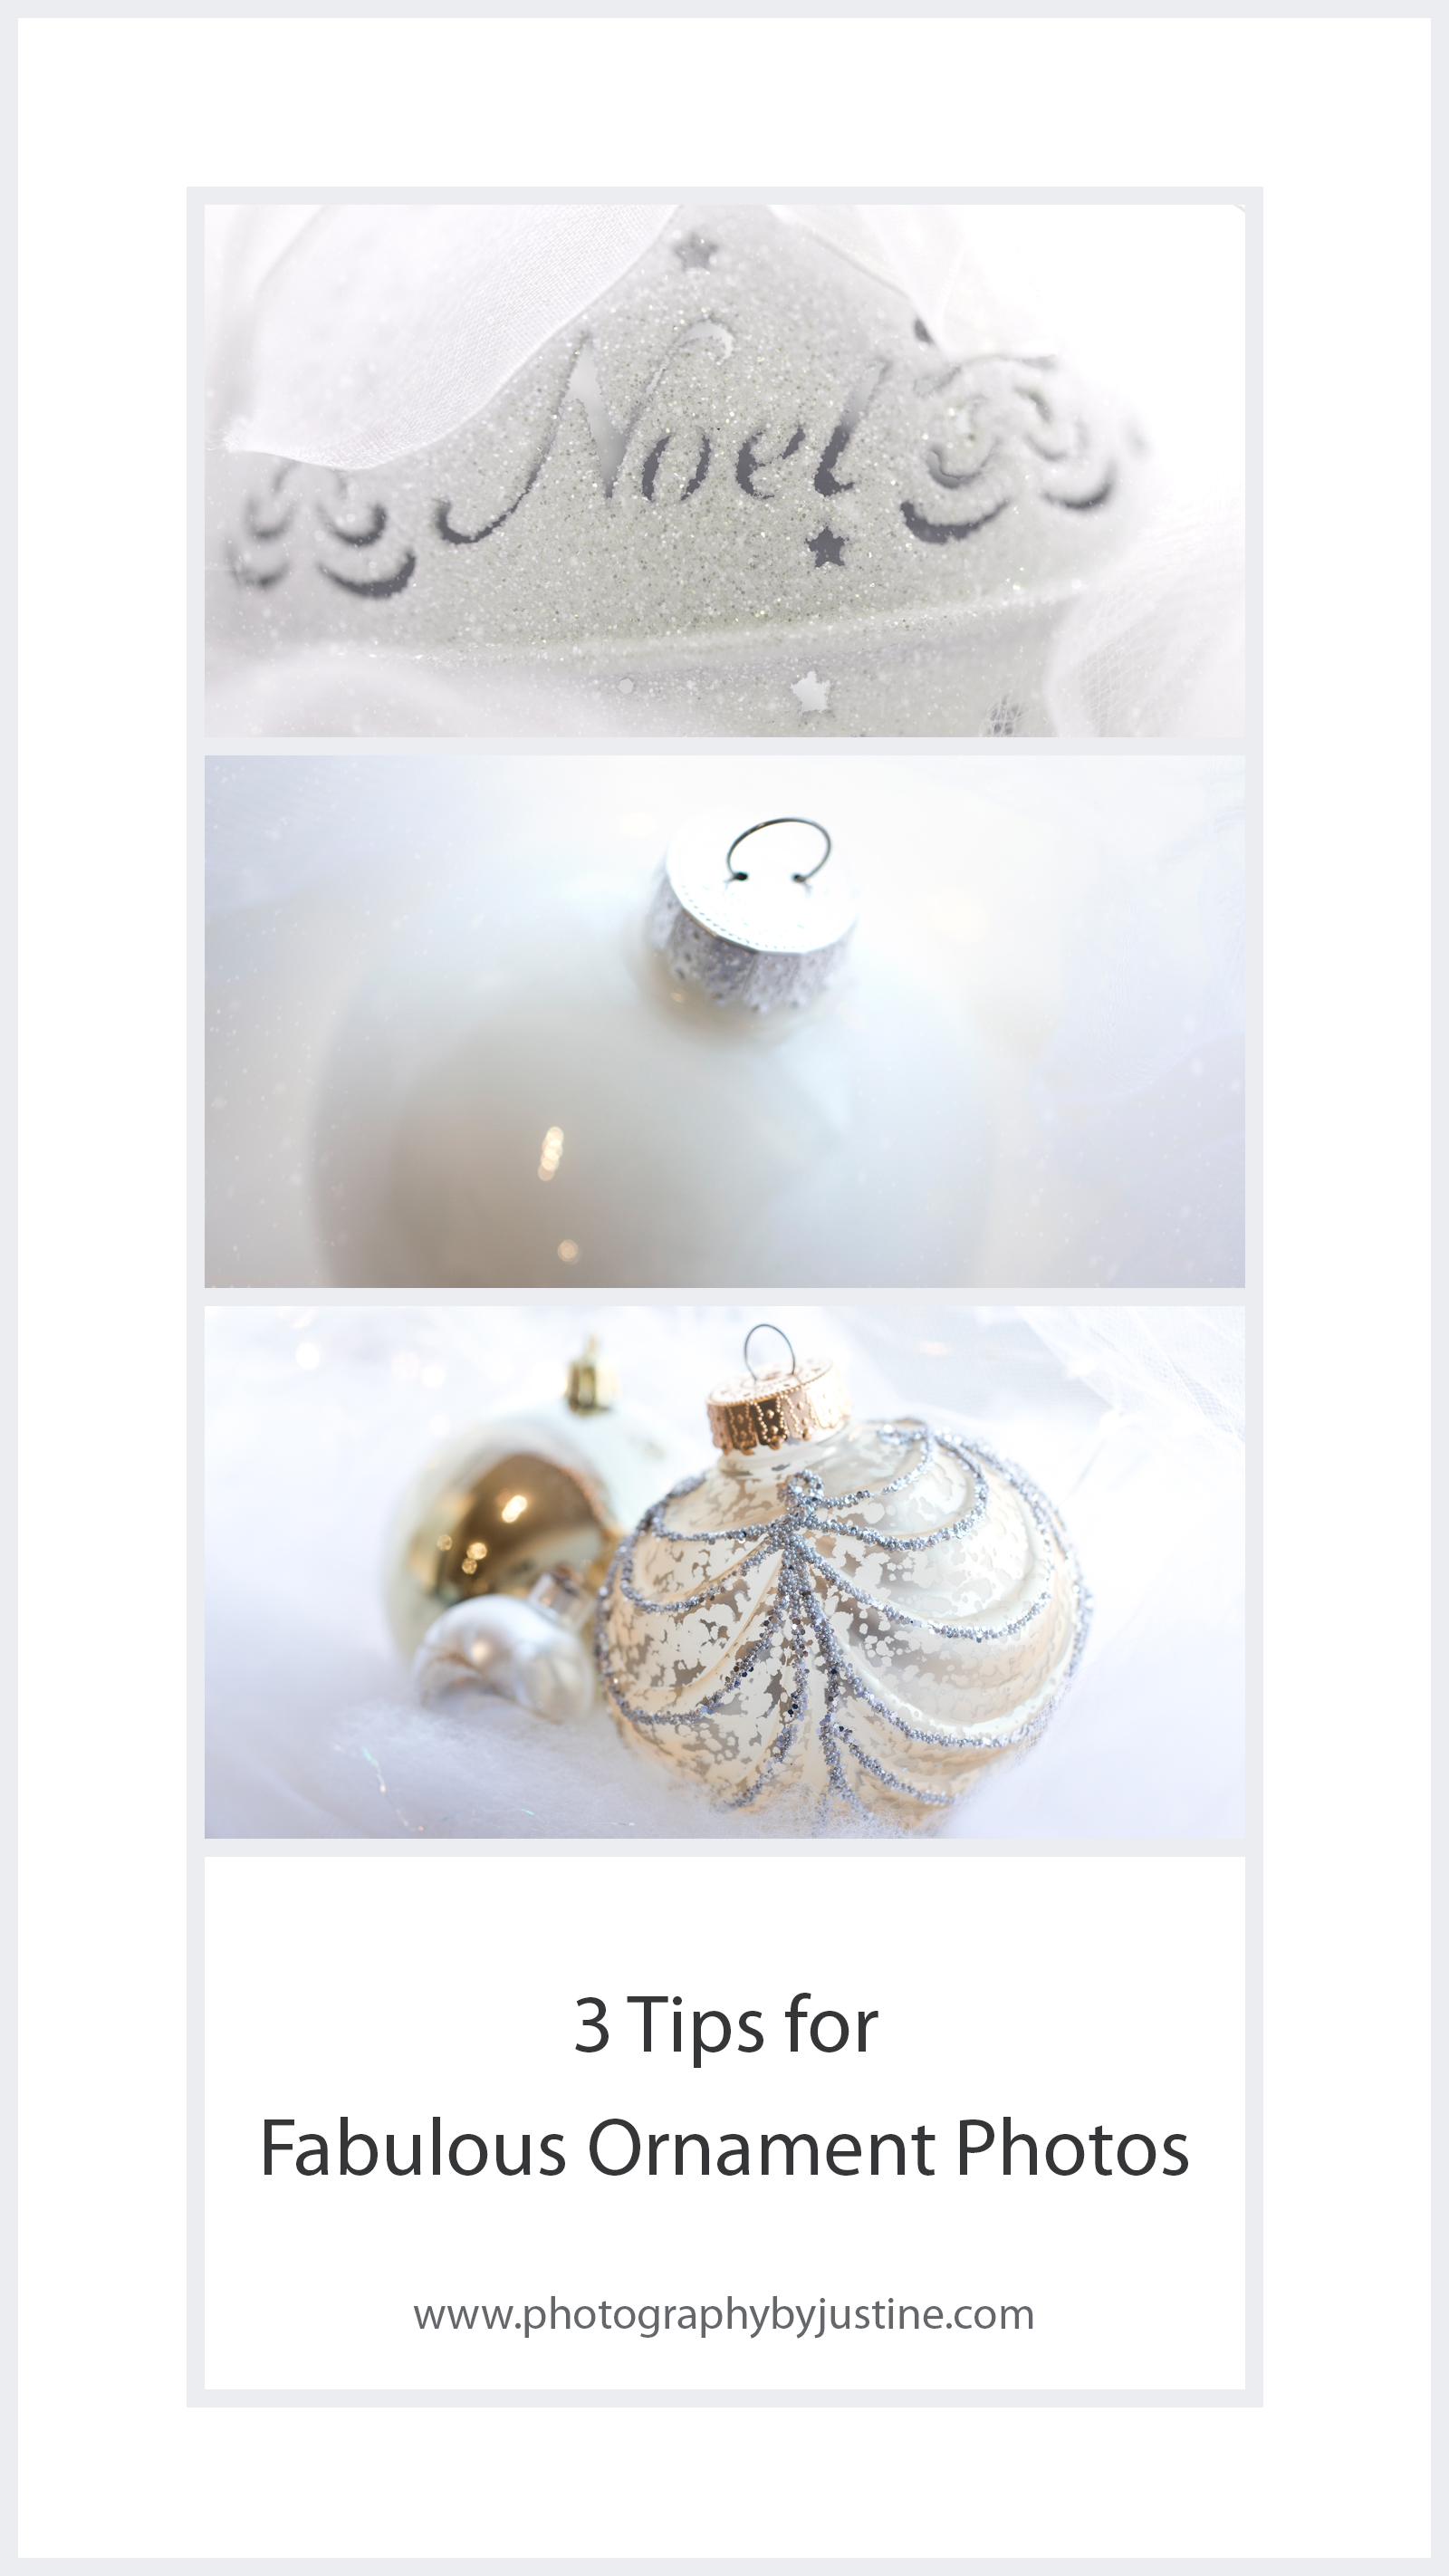
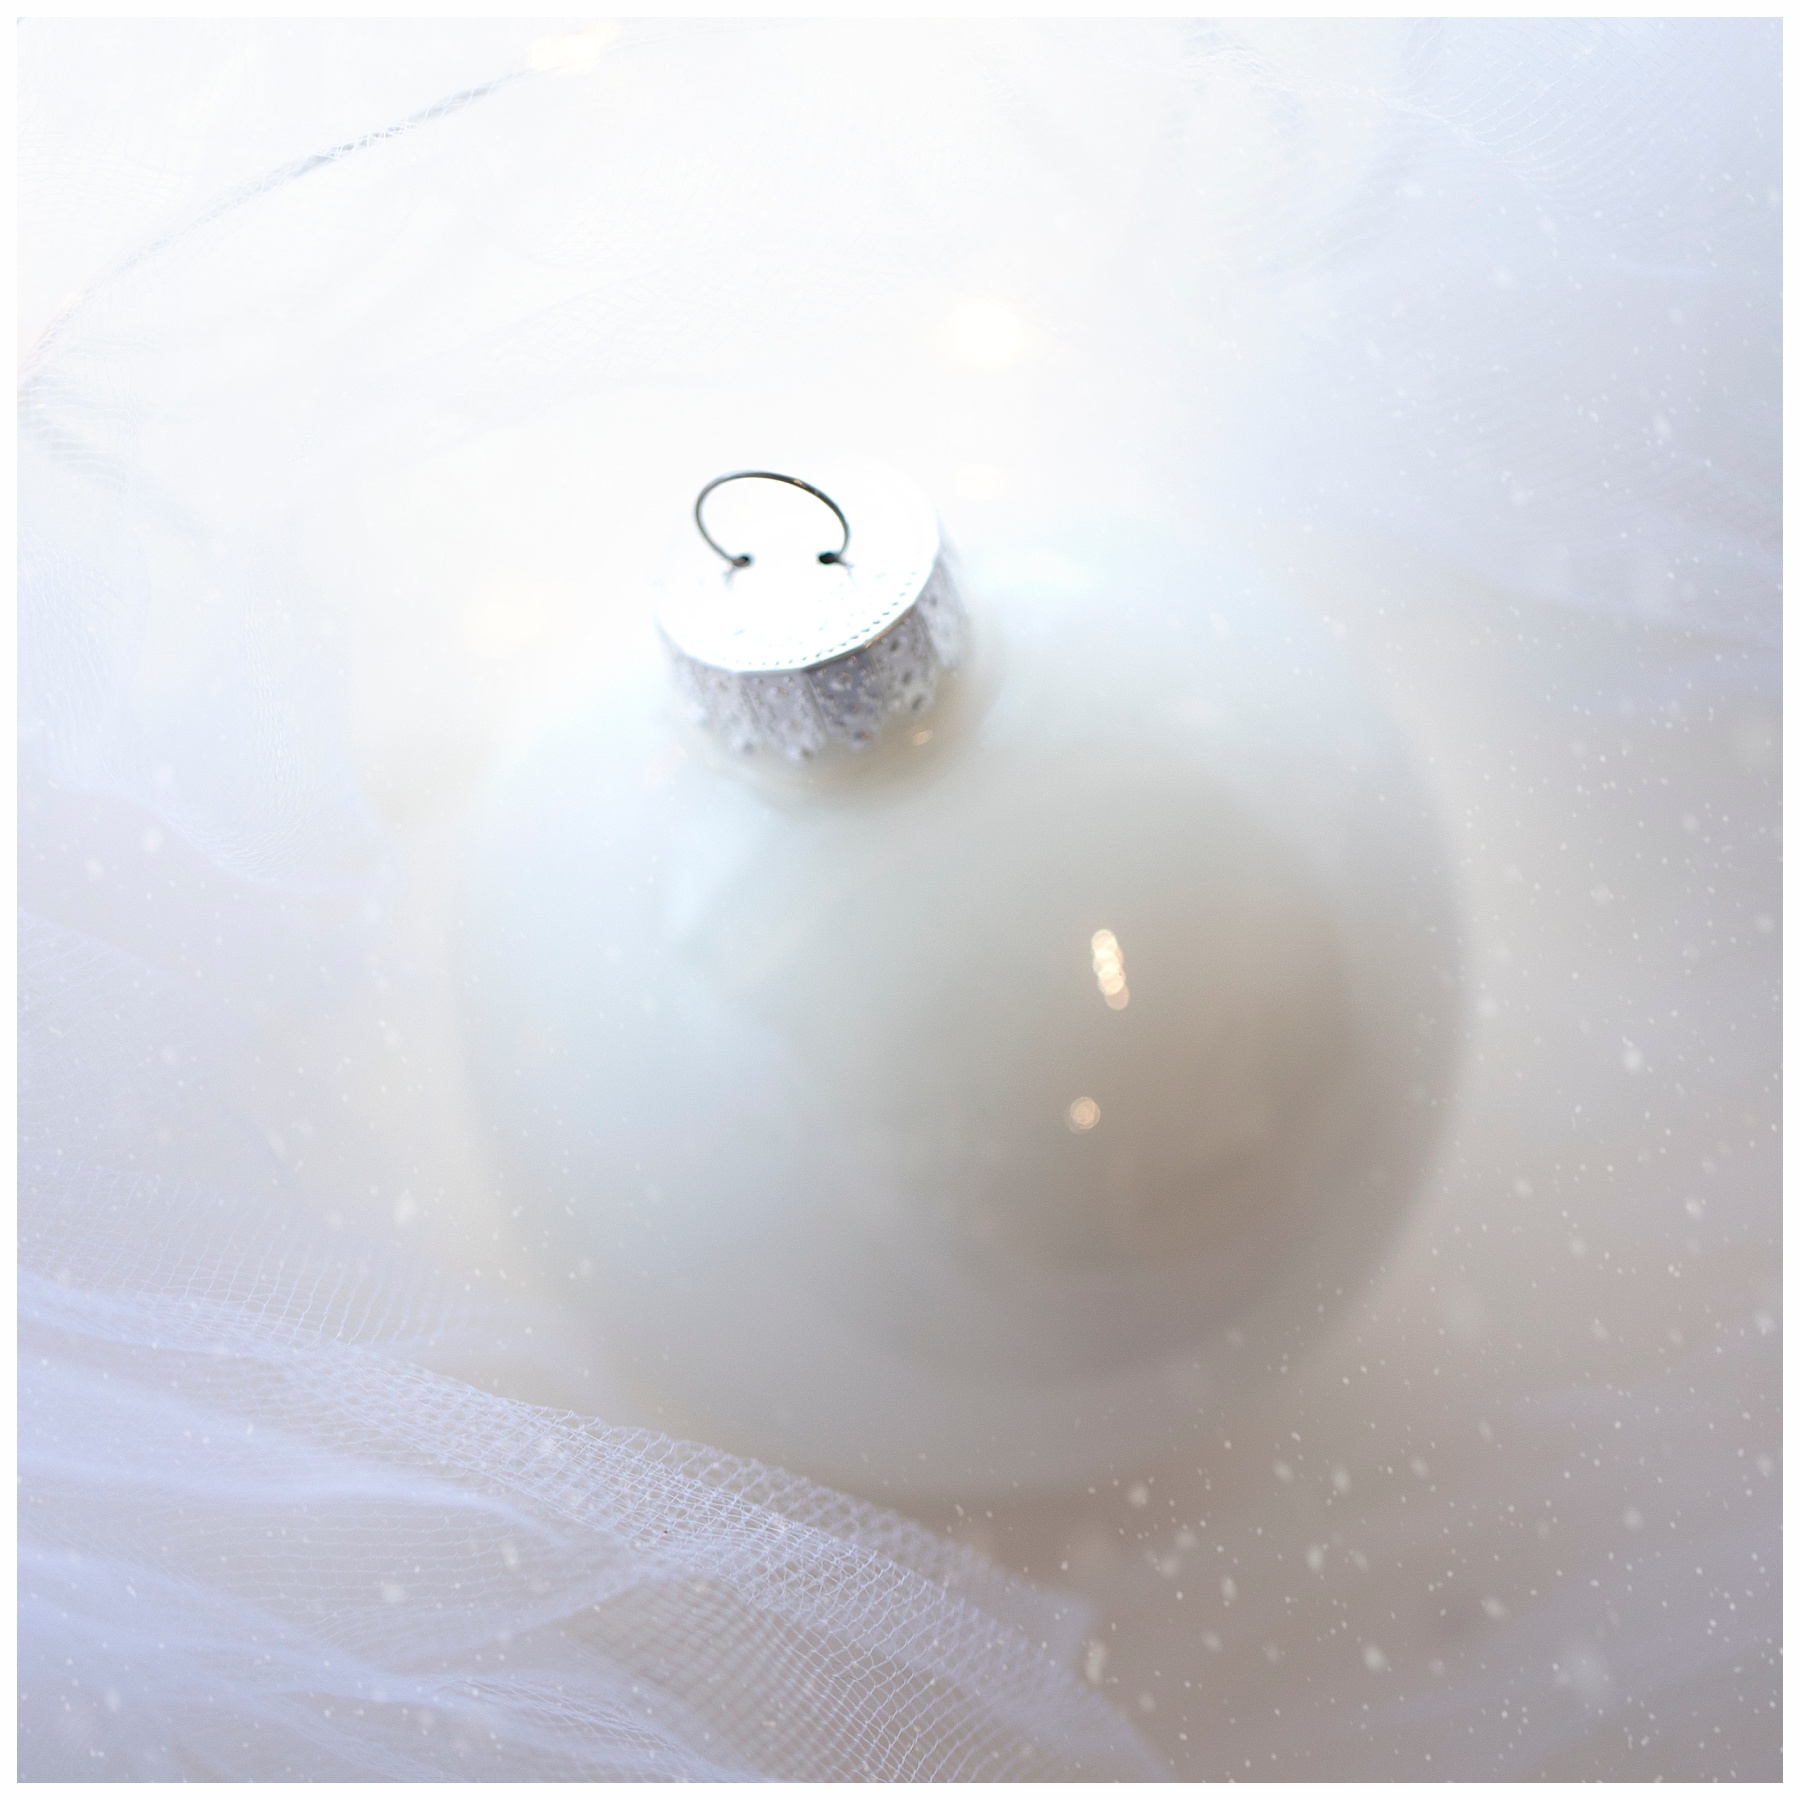
- Get Close! Try getting in super close to your ornaments! Getting in close obviously puts all the focus on your lovely pieces, but it also prevents distractions from the surrounding area from creeping in. Many cameras have a Macro setting which will allow you to move in super close and still get a sharp image. The macro mode is usually symbolized with a little flower. Usually in macro mode, your camera will select a large aperture (F-Stop) so that the background will go a little blurry. If your camera allows it, select the lowest number allowed for your aperture. Play around with the focus point once you have chosen your setting and be selective – a large aperture will create a small “depth of field” and a narrow focus area, so you will need to be careful. Thankfully digital photography allows you to keep trying, viewing and getting it just right!
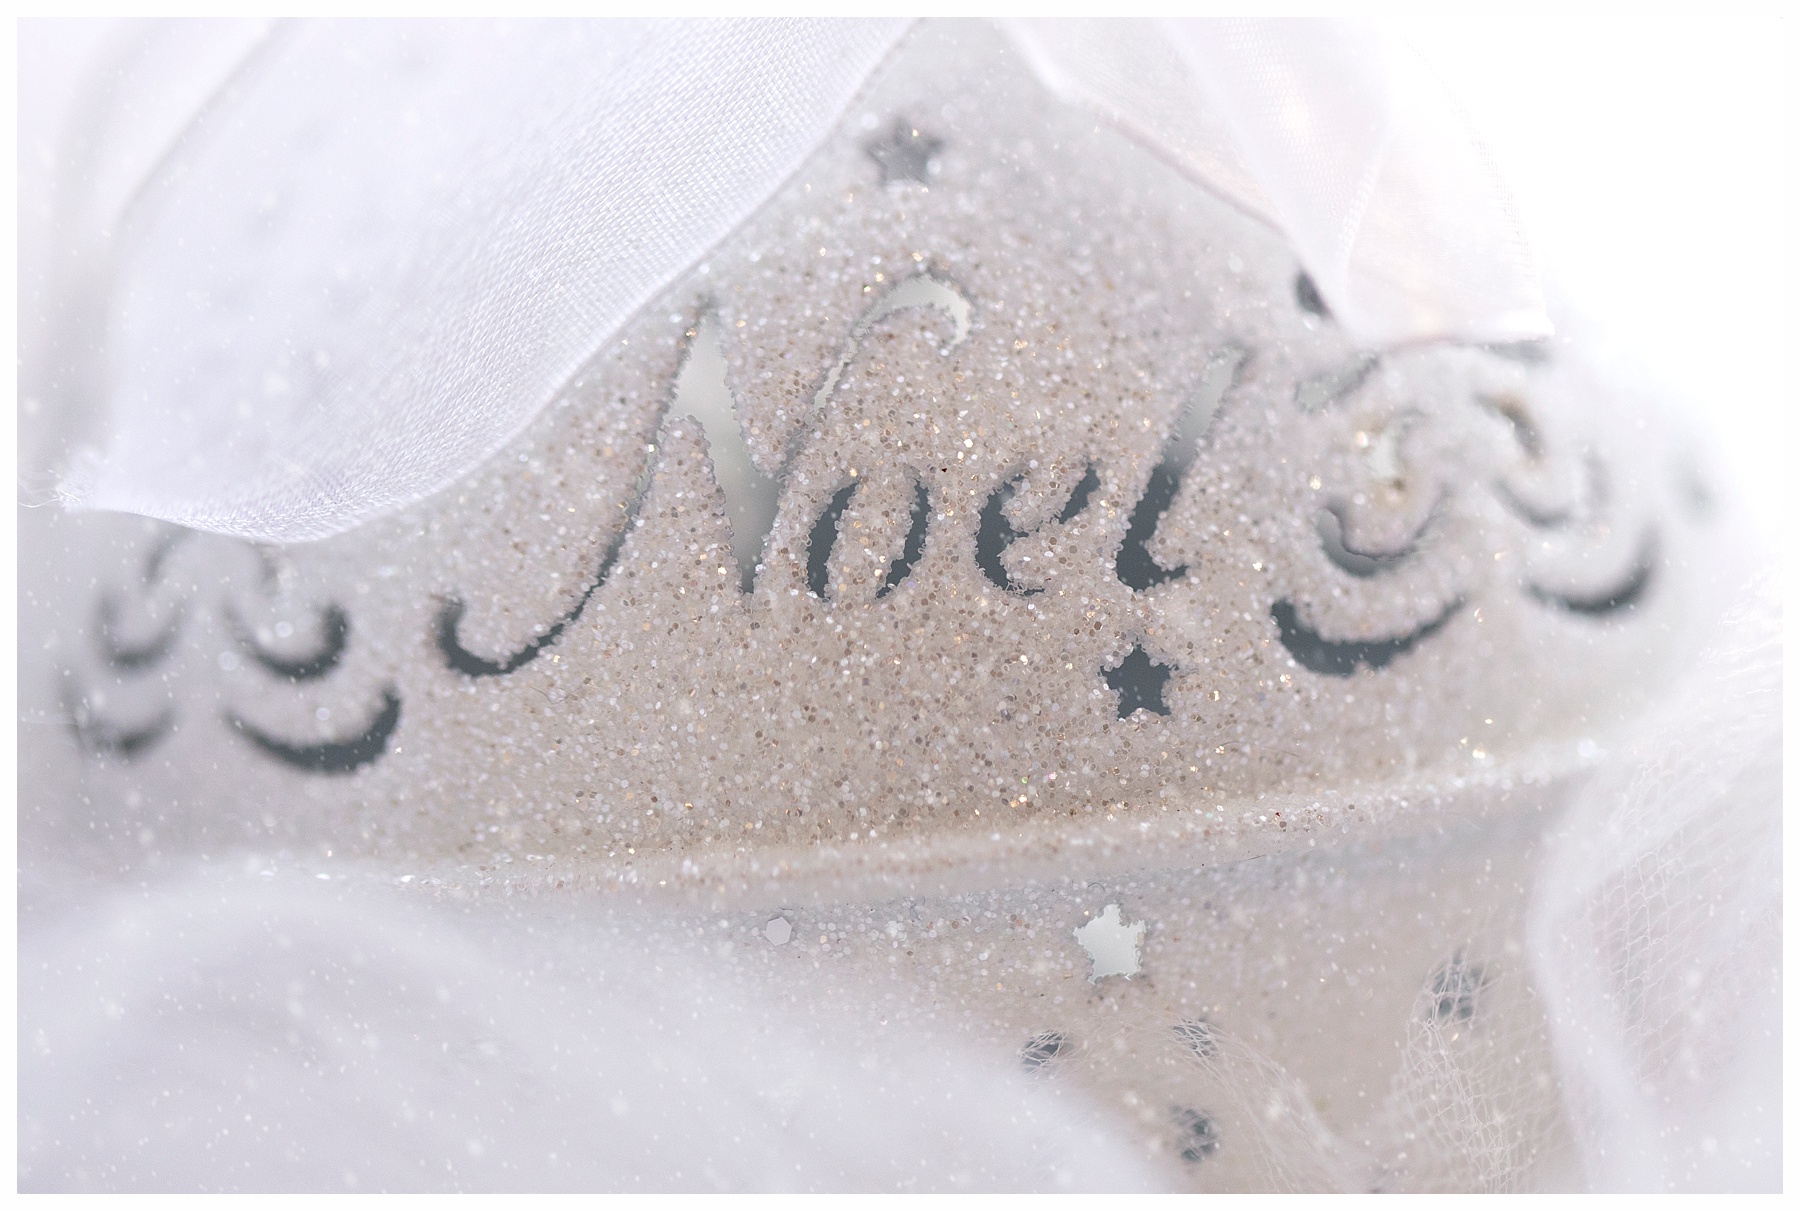
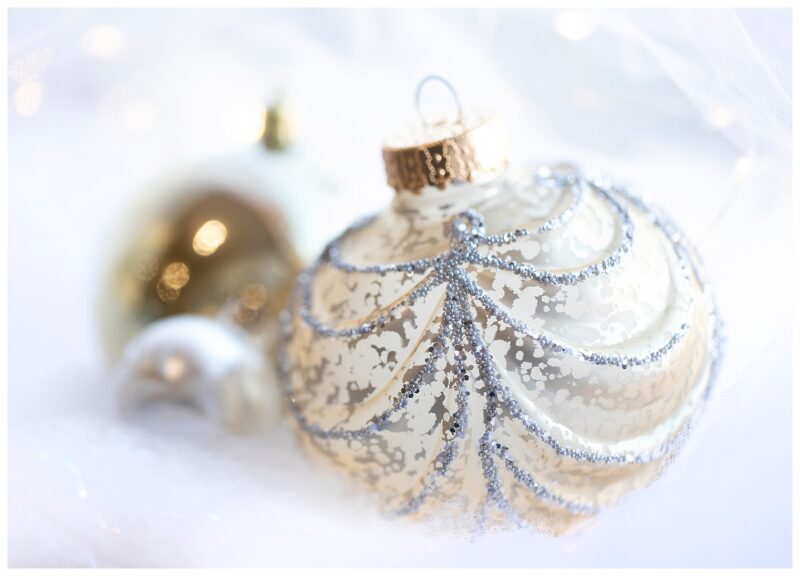
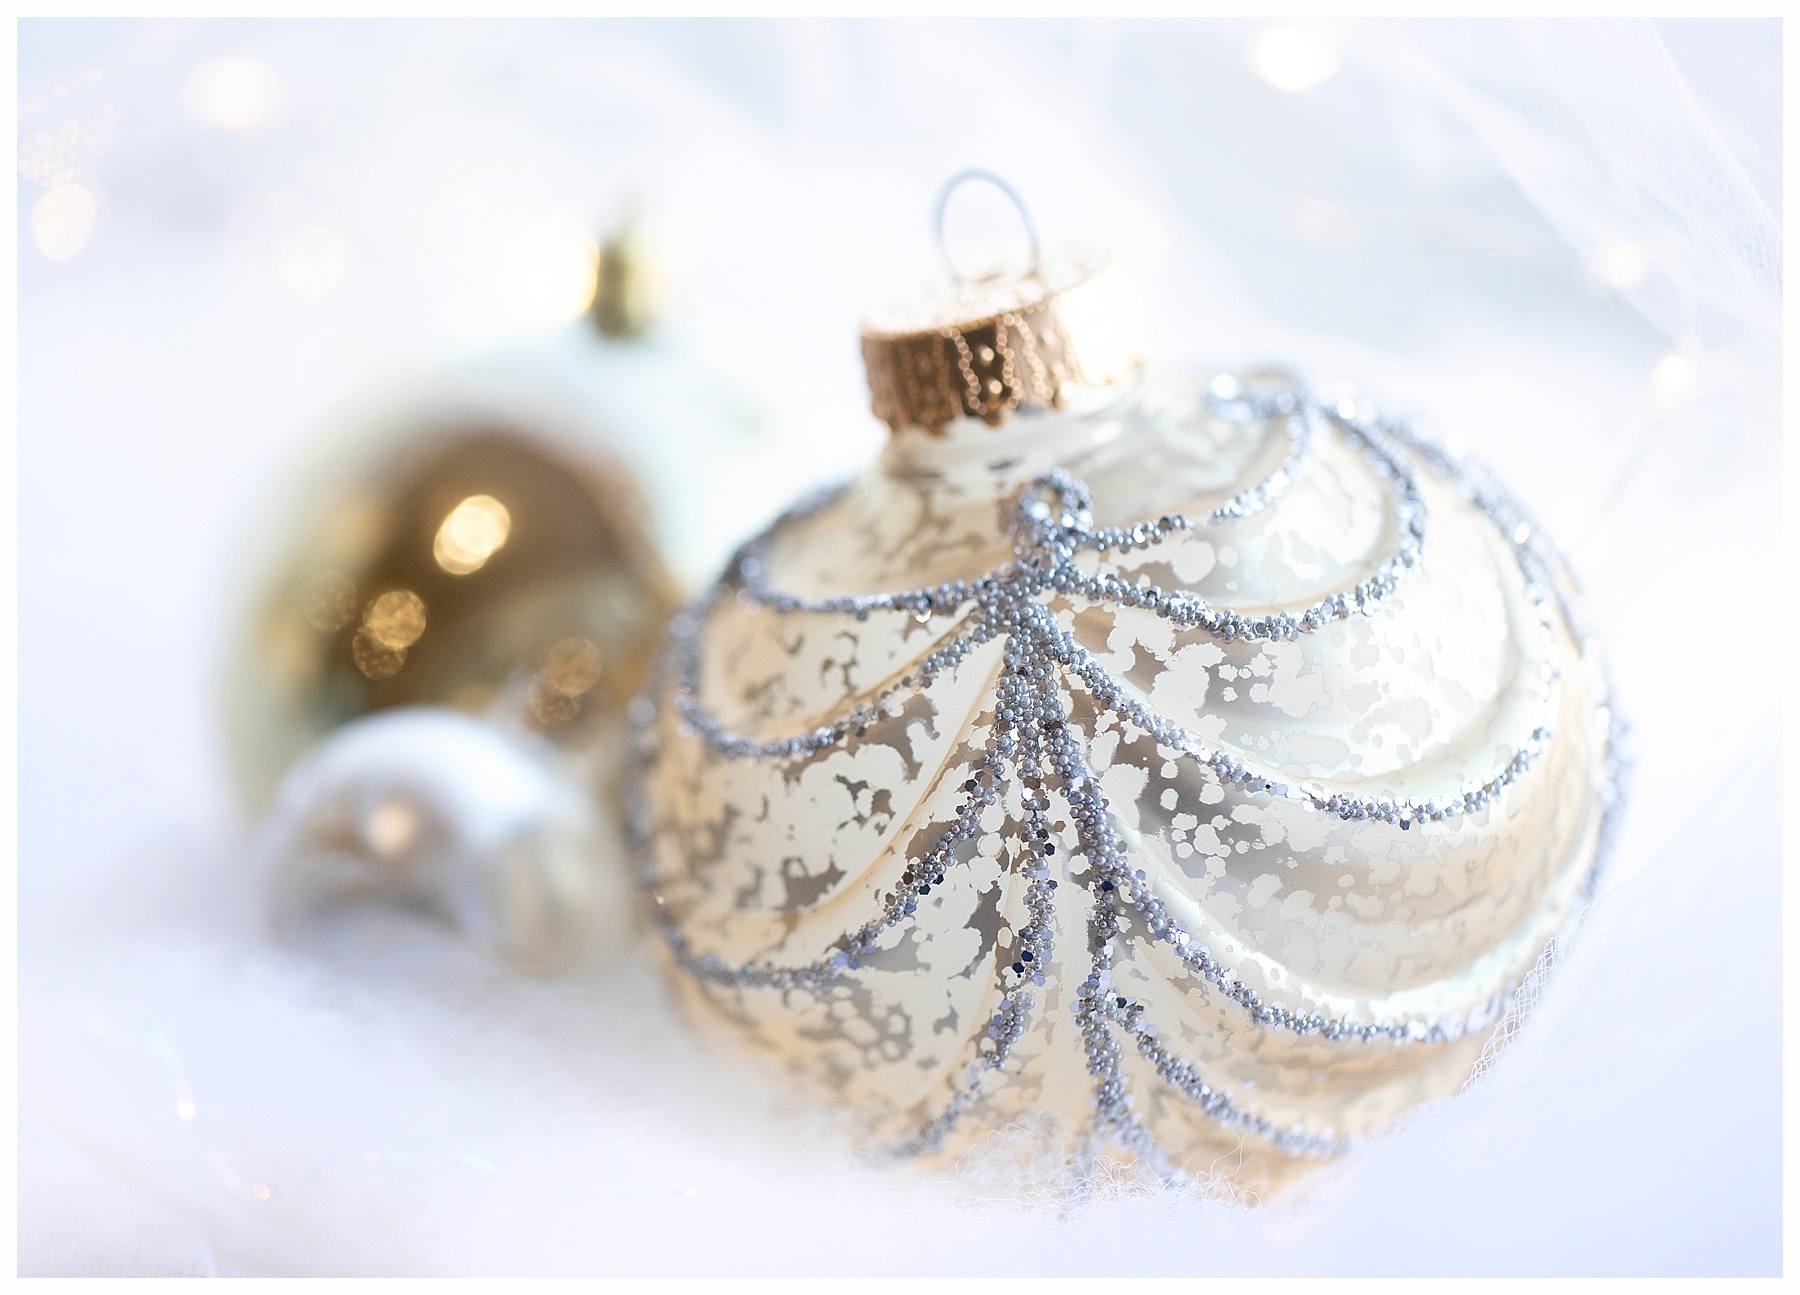
2. Location, Location, Location! Of course you can take photos of the ornament hanging on your tree and those will be lovely. But have you considered taking them down and creating a little set? These photos were taken on just a simple piece of white batting (the kind used for fake snow in Christmas villages), and a little snippet of white tule netting. Because I moved in really close to the ornaments, I didn’t need large pieces of fabric. I love how the simplicity of just the white makes the eye focus on just the ornament. I also used a little string of tiny LED fairy lights to create those little twinkles. Then I moved right in front of a window, letting all the natural light fill the area. When looking for light, choose a location where its nice and bright, but not in direct sunlight! Watch for shadows and dark patches – you want a spot just outside the “strip” of sunlight – you know, the spot that the cat likes to lie in. LOL.
3. Change the Angle! Move your camera and yourself around! Its natural to take the photo straight on, but try lying on your stomach and taking a photo from a little below or stand up and shoot straight down! Check your photo and look for distractions – these can be things in the background like a sofa leg, a picture hanging on the wall, or even other ornaments! Sometimes we only look at the subject of the photo and forget to see what’s surrounding it! The big one to watch out for is your own reflection in shiny round ornaments! Or reflections of the surrounding area. Whoops – there I am – as well as my studio gallery wall!
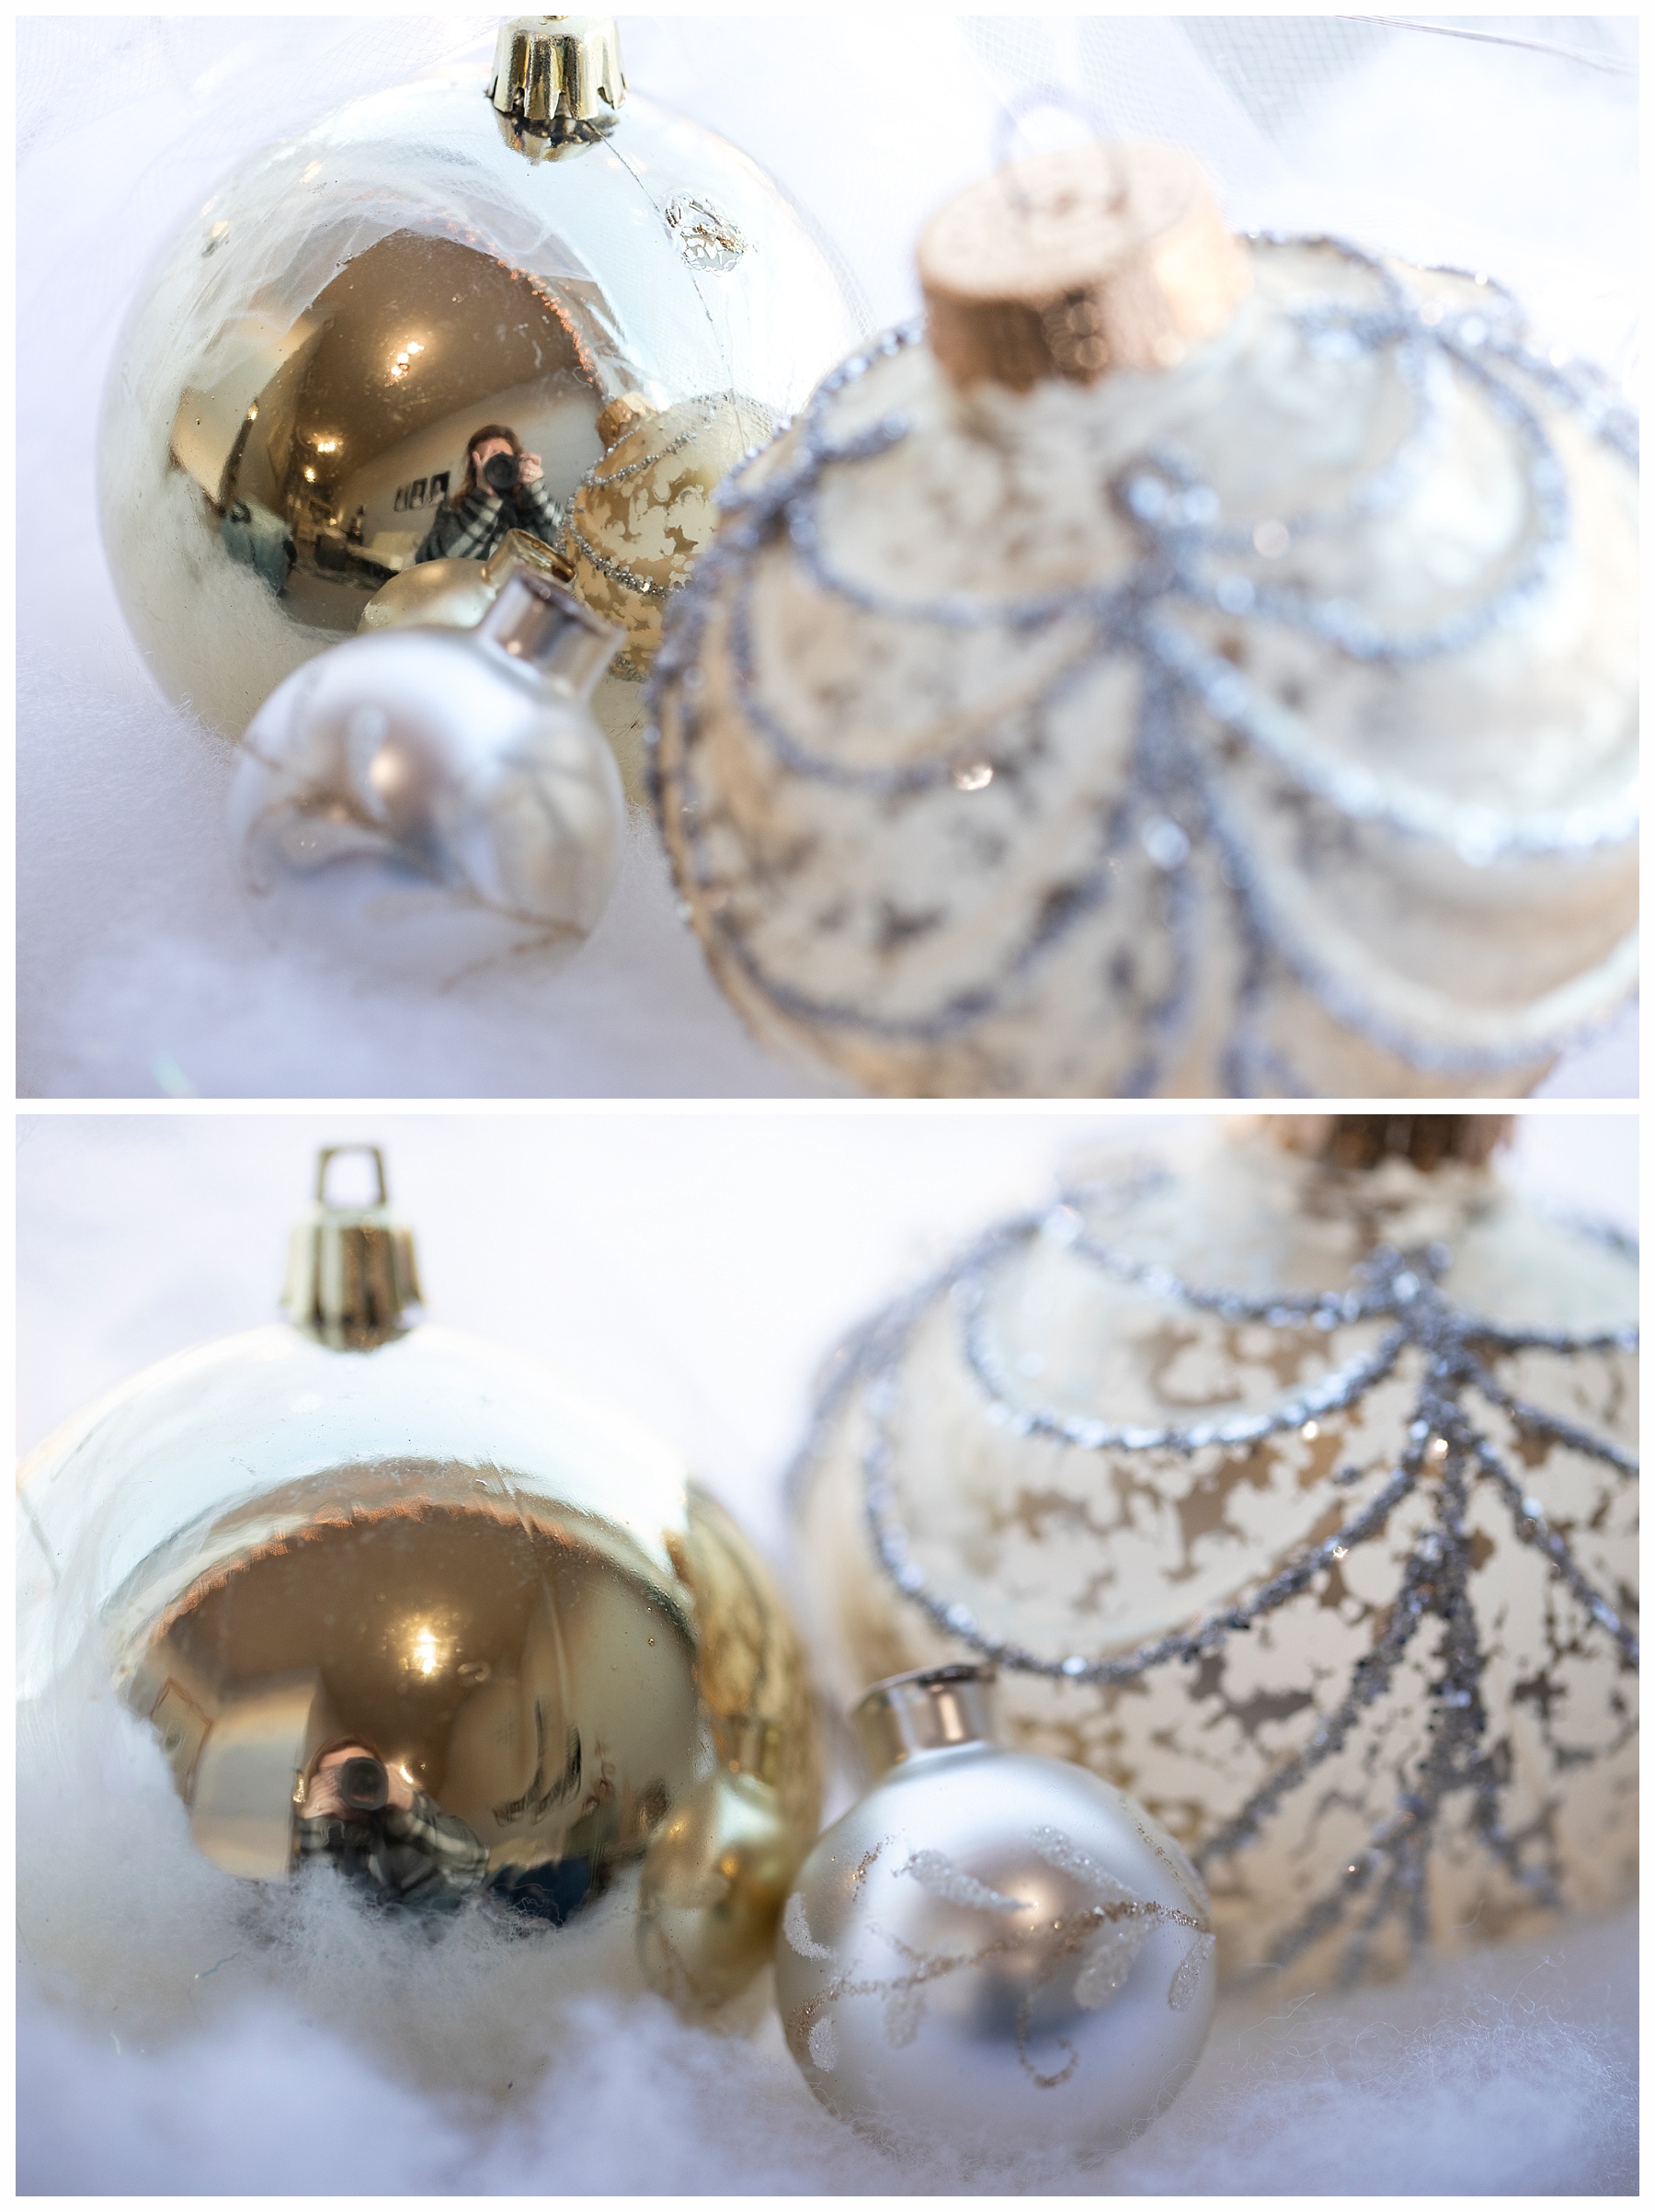
I had to try several times to find just the right place to take the following photo. I made small adjustments to check see where the reflections were and just changed my position a little to find the correct angle. I also was picky about where I focused the camera, so that the area that had the highest reflection was blurrier and less obvious.
Have fun with your decorations and ornaments! This is not an official tip, but just experiment! One of the greatest advantages of digital photography is the ability to get instant feedback and an unlimited number of shots! Check that LCD screen, see what you like or where you can make a little change and try again!
Want to learn more? There are a ton of articles online, but here are a couple to get you started…
More about aperture
More about macro photography for point and shoot cameras